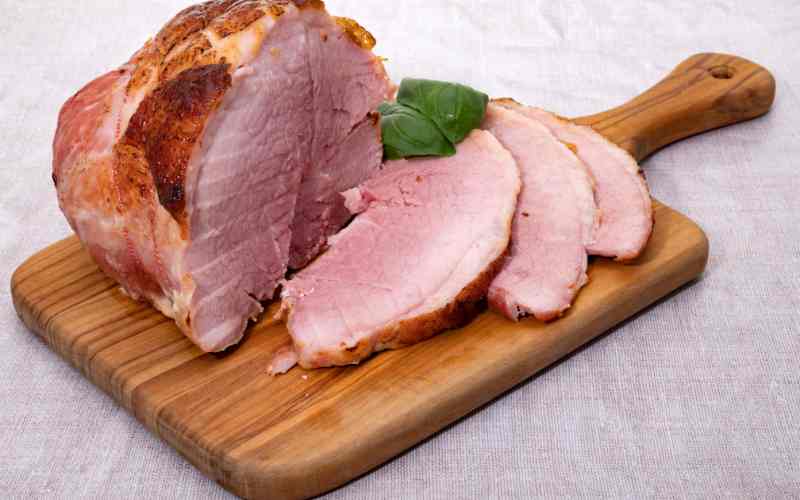
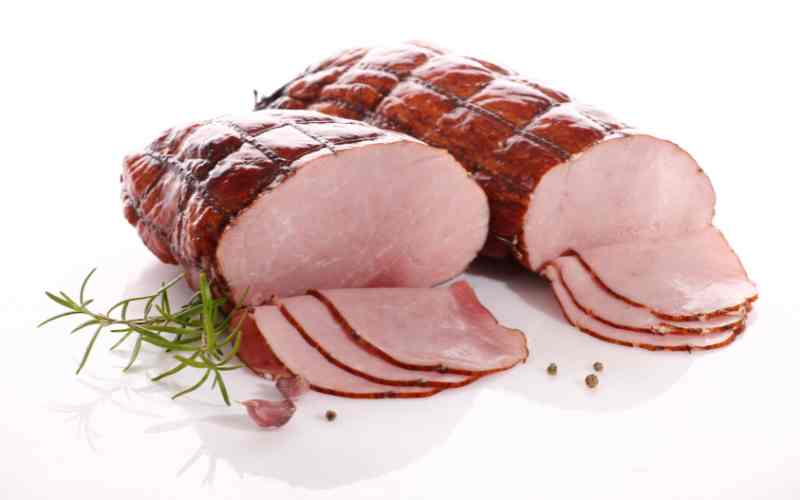
Grilling ham is a great way to bring out the natural smoky flavor of the meat while adding a crisp crust to the exterior.
Whether you’re preparing a feast or looking for a delicious way to cook your ham, achieving the perfect temperature is key to ensuring the ham is juicy and tender, without being undercooked or overcooked.
In this guide, we will take you through the steps on how to grill ham to the perfect temperature and share some tips to ensure your next ham grilling adventure is a success.
Read On!
Contents
How To Grill Ham To The Perfect Temperature (Step-By-Step Guide)
1. Choose the Right Cut of Ham
The first step to grilling ham to the perfect temperature is to choose the right cut of meat. Bone-in hams are great for grilling because they retain moisture and flavor better than boneless hams.
Additionally, spiral-cut hams are easier to grill because they are pre-sliced, which allows heat to penetrate the meat more evenly. When selecting a ham, look for one that has a pinkish color and is free of any foul odors or discoloration.
2. Prepare the Ham
Before you grill the ham, you need to prepare it by trimming off any excess fat or skin. Leaving too much fat on the ham can cause flare-ups and make it difficult to cook the meat evenly.
You can also score the surface of the ham with a sharp knife to allow the flavor to penetrate the meat more deeply. Finally, let the ham come to room temperature for about 30 minutes before grilling to ensure it cooks evenly.
3. Preheat the Grill
To grill ham to the perfect temperature, you need to preheat your grill to the right temperature. Set your grill to medium-high heat and let it preheat for about 10-15 minutes. This will ensure that the grill grates are hot enough to sear the ham and create a crust on the outside.
4. Grill the Ham
Once your grill is preheated, it’s time to grill the ham. Place the ham on the grill grates and close the lid. Cook the ham for about 10-15 minutes per side, or until the internal temperature reaches 140°F. This temperature is safe for consumption and will ensure that the ham is cooked all the way through.
5. Check the Temperature
To ensure that the ham is cooked to the perfect temperature, you need to use a meat thermometer to check the internal temperature. Insert the thermometer into the thickest part of the ham, avoiding any bone or fat. The temperature should read 140°F, which is the safe internal temperature for cooked ham.
6. Rest the Ham
Once the ham reaches the desired temperature, it’s time to remove it from the grill and let it rest for about 10-15 minutes. This resting period allows the juices to redistribute throughout the meat, making it more tender and juicy.
7. Serve the Ham
After resting, you can carve the ham into slices and serve it with your favorite sides. Grilled ham is perfect for holidays or any special occasion, and it pairs well with a variety of sides, such as roasted vegetables, mashed potatoes, or mac and cheese.
Tips For Grilling Ham To The Perfect Temperature

Here are a few additional tips to help you achieve the perfect temperature when grilling ham:
Baste the ham with a glaze or marinade:
Adding a glaze or marinade to the ham can help it stay moist and flavorful while cooking. You can use a variety of glazes, such as honey mustard, brown sugar, or pineapple, depending on your preferences.
Use indirect heat:
If you are using a charcoal grill, you can create indirect heat by pushing the coals to one side of the grill and placing the ham on the other side. This will prevent the ham from burning and help it cook evenly.
Let the ham rest before carving:
Allowing the ham to rest before carving it is an essential step in ensuring that it is juicy and tender. During the resting period, the juices will redistribute throughout the meat, making it more flavorful and tender.
Check the temperature in multiple spots:
When using a meat thermometer to check the internal temperature of the ham, make sure to check it in multiple spots to ensure that it is cooked all the way through.
Adjust the cooking time:
Depending on the size and thickness of the ham, the cooking time may vary. Use the internal temperature as a guide, and adjust the cooking time accordingly to ensure that the ham is fully cooked but not overdone.
Related:
